THE PLAITS OF 2014
Whats in this year on the catwalks.. plaits of every shape and size.
Say goodbye to bad hair days, and hello to your go-to quick hair fix – the plait. Featured on the Aw14 shows of Jean Pierre Braganza, Marc Jacobs, Marchesa and Alexander McQueen, the plait is back! Usually associated with school-girl hair, the classic style has received a grown-up make-over and is the saviour to your last minute hair stresses.
From dishevelled styles at Jean Pierre Braganza, neat braids in centre parted hair at Marc Jacobs and rows of French plaits on the crown at Marchesa and McQueen. Whether you opt for a French braid, pigtail plaits, or an up-do, a quick braid is the easiest way to give your hair an AW update. A look that’s low maintenance, quick and easy and won’t heat damage your hair, sounds like AW hair perfection!
 |
| The beautiful bohemian braid. Created by Darren Ambrose and the Wella Professionals team, this matte textured look shows that catwalk plaits can be pretty and wearable. The braids part down the middle of the hairline and forms down the side of the head and is then put into the messy bun which contains another large plait. |
 |
The pristine-section-plait at Teatum Jones. Inspired by Nina Simone and created by Bianca Tuovi, this style sees intricate sections of thick braids that pulls up together into a bun.
|
 |
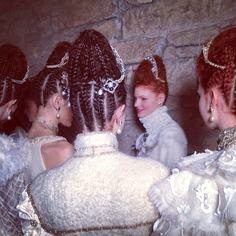
| The 360° braid. At Bibhu Mohapatra, Amit Abraham created braids with a bit of everything for appeal at every angle. Leather bands were woven through the top sections, a swirling bun took pride of place at the back, sleek sides provided contrast and a headband made an impact at the front. This particluar plaited hair style I feel is very contemporary elizabethan. The way the plait parts down the middle of the hair and incorporates into the bun, this style contain many influnces and techniques used in the Elizabethan era. |
 |
| The post-tornado fishtail by Orlando Pita for Michael Kors. Session stylist Orlando described it as how hair would like after a tornado. In reality, volumising spray and a big fat tong were used to achieve the grunge texture. |
 |
The chain-link look by Eugene Souleiman for Wella Professionals at Donna Karan has been a social media sensation.The four-strand style required two hands, twisting and crossing each length in the style of a 90s friendship band.
Plaits can be very easy and a great way to get your locks off your face. However some types of plaits or braids can be quite elaborate and look very sophisticated. In relation to plaits and the Elizabethan era, plaits were very common in the hair and were easy to do. If I wanted to incorporate a plait into my design and make it contemporary I could create a French plait in the hair and this could be worn anyway and plaited in any direction. Here I did a mini study on looking into contemporary plaits that have been used on the catwalk by many designer this year. I really like the different variety of French plaits, braids, fish tail and twist you can incorporate into a hair design. The main feature for my hair design I want it to be some kind of french plait that is incorporated into the contemporary Elizabethan hair style.
http://www.hji.co.uk/hair/14-springsummer-2015-braids-copy-catwalks/
http://www.itslavida.com/the-return-of-the-plait/ |

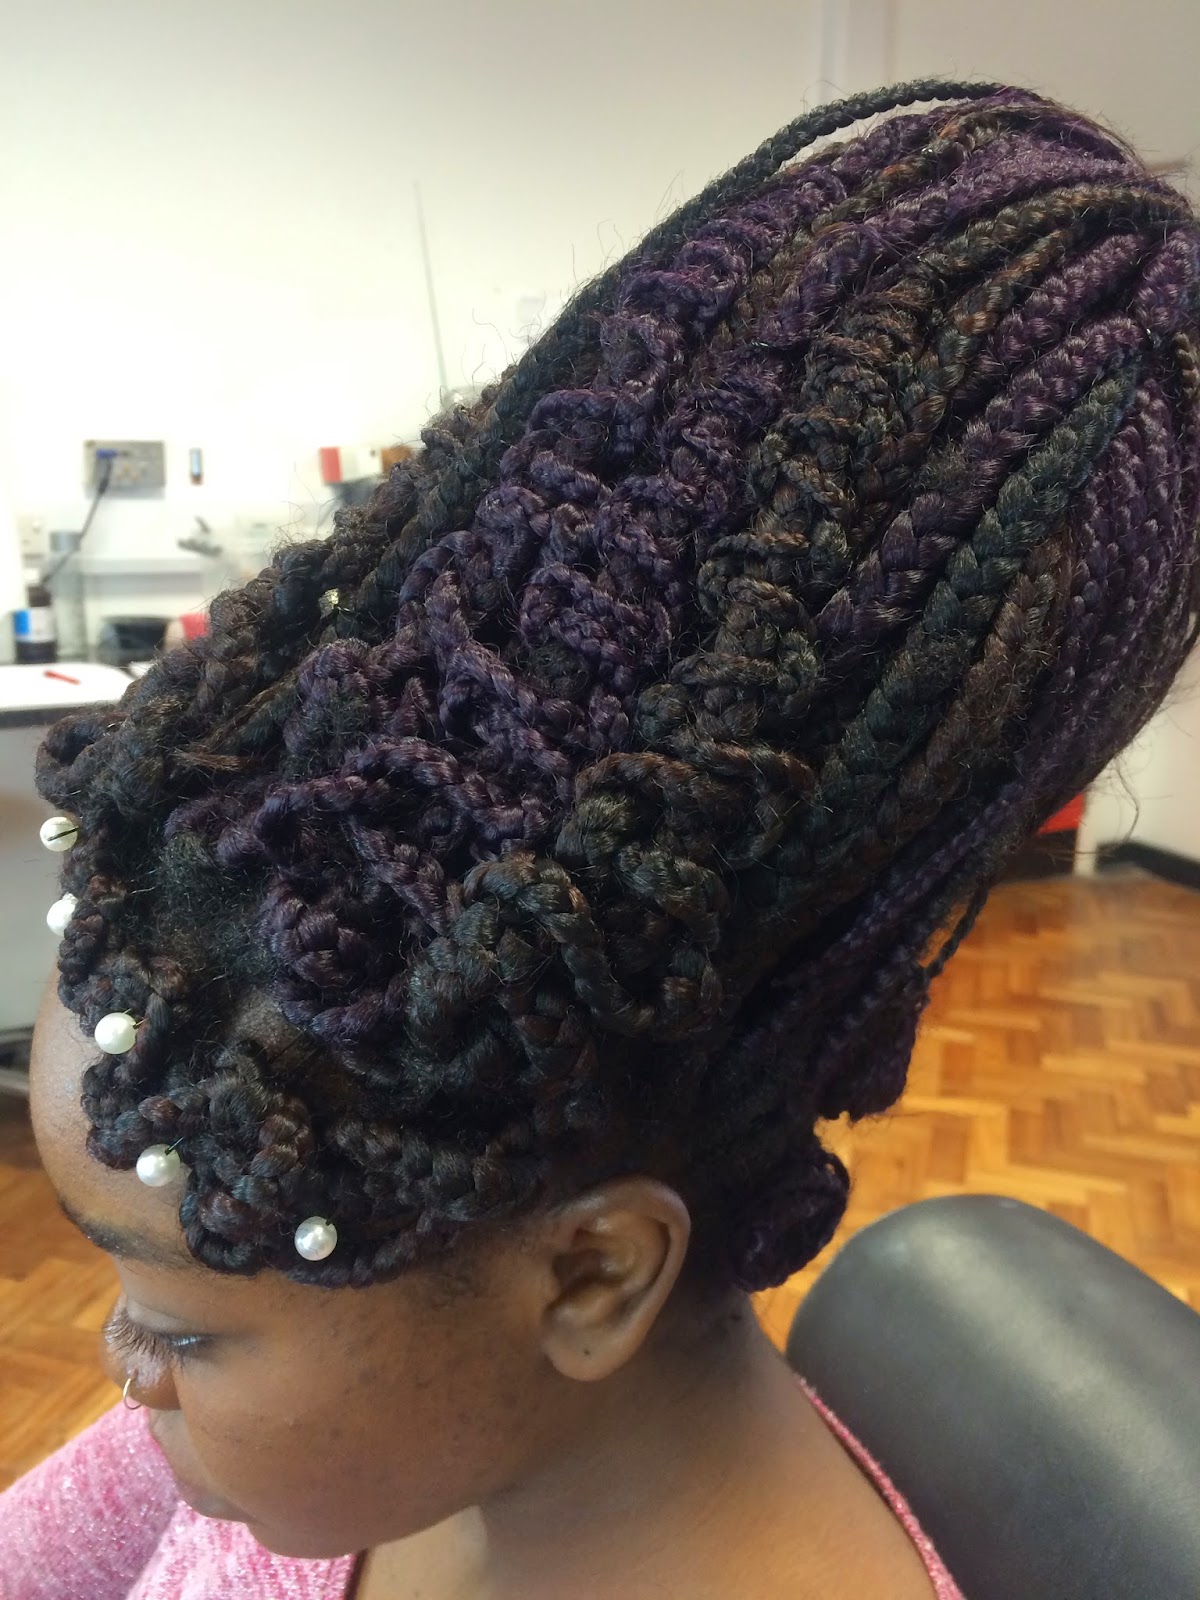
 I started with sectioning the hair off, I left hair at the front to create the wiggle plaits and also hair to cover the final bit at the front of the beehive. In Beths design she wants averagely 8 wiggle plaits all together at the front, this was 3 plaits going up the beehive each side (6 all together going up) and 2 crossing over framing the front of the face. Once this section was out of the way at the front I then started on creating the beehive. Most of my time is spend on creating and structuring the beehive as there is so much hair and its so hair I have to make sure its all secure and gripped down. I placed the beehive directly behind the parting of the front section and starting pull strands over one by one to secure the bottom layer to the head and the padding. I then gathered larger sections of hair and gripped it all into place and just left 4 strands at bottom.
 I then separated the bit at the front that I left when I sectioned the hair at the beginning and started building that up at the front of the beehive, this was just to cover the front and make sure it looked neat and the padding wasn't showing. I then took down the next layer I separated which was for the wiggle plaits and I started grouping them into threes to create the plait. I started with the middle 6 and created all the wiggle plaits and gripped them to the top of the beehive. With the 2 outer plaits I brought them both across to meet at the middle and gripped them in place.